
Hiking Essentials for Beginners: What to Pack (and What to Leave Behind)
You’re standing at the trailhead with your pack on, and the sign says 4.2 miles. Somewhere between the car and here, a quiet panic set in: did you bring enough water, are these the right shoes, what did you forget?
That last-minute inventory is one of the most common feelings in beginner hiking, and it doesn’t mean you’re unprepared. Many of the packing lists you’ll find online are written for overnight trips, or for people who already own a closet full of gear.
The real list of hiking essentials for beginners is much shorter. Here’s what a day hike actually needs, why each item earns its spot, and what you can safely leave at home so your pack stays light enough to enjoy the walk.
TL;DR: Hiking Essentials for Beginners
- A 20 to 25 liter daypack that fits, about half a liter of water per hour of hiking, snacks, and broken-in shoes with synthetic or wool socks.
- A synthetic or merino base layer, a light fleece and a packable rain jacket, with no cotton against your skin on cool or wet days.
- Your route downloaded for offline use, a charged phone and power bank, a headlamp, and a text to someone with your plan.
- A small safety kit: blister tape, bandages, tweezers, pain relievers, sunscreen, a whistle, a lighter, a small knife and a space blanket.
The “Core Three” Essential Gear: Backpack, Water, and Footwear
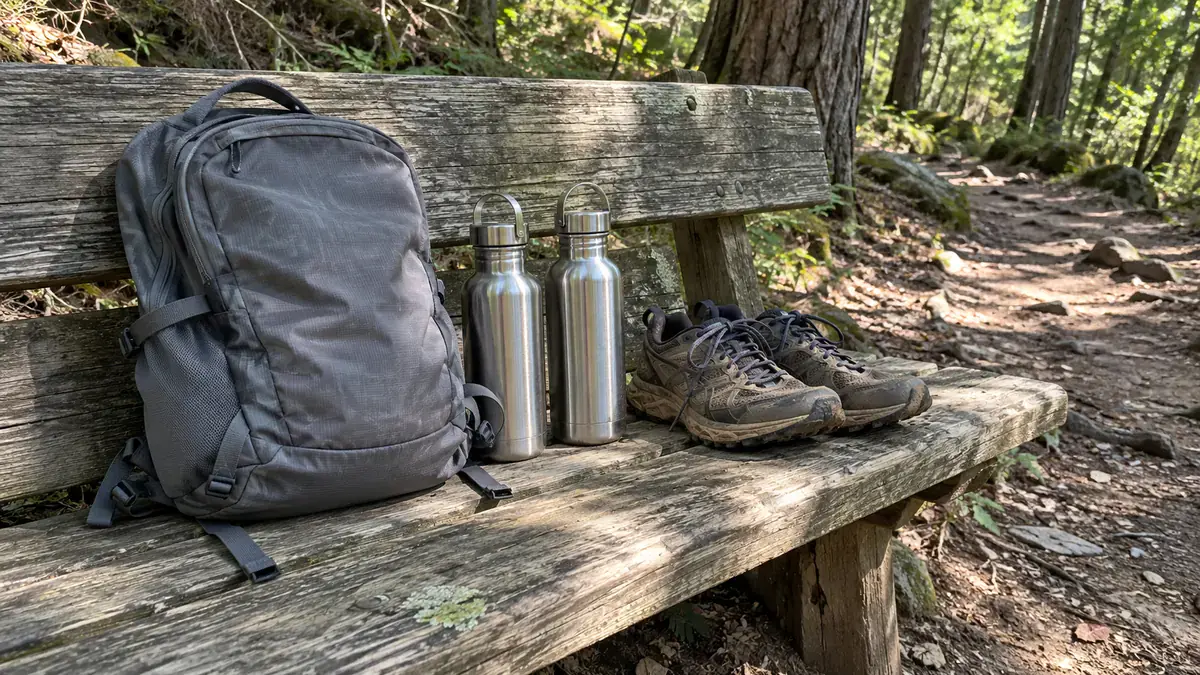
Before you think about apps or emergency blankets, get three things right: the pack, the water and your shoes. They’re what you feel with every step, and if one of them is wrong, nothing else on the list will rescue the day.
Everything in this guide follows the Ten Essentials, the list the American Hiking Society recommends for every hike, however short. I’ve kept each item small, because a two-hour trail needs light versions of the same things, not heavier ones.
Choosing the Right-Sized Daypack
For a day hike of a few hours, I’d look at 20 to 25 liters. That holds water, food, a warm or waterproof layer and a small first aid kit, without so much empty space that you fill it with things you won’t use.
Look for padded shoulder straps and at least a simple webbing hip belt, which keeps the pack from swaying even if it doesn’t carry much weight. Many daypacks also build a small emergency whistle into the sternum strap buckle, so check yours before you buy a separate one.
If you’re still choosing, my guide to the best daypacks for beginners compares three that suit this kind of hike, with who each one fits.
Managing Your Hiking Water Supply
The American Hiking Society’s planning guideline is half a liter of water per hour in moderate temperatures and terrain, so about a liter for a two-hour loop. Steep climbs and summer heat push that number up, so carry extra on those days.
For a half-day loop in mild weather, two liters is a sensible starting point. It feels heavy at the trailhead, but water is the one thing you can’t easily replace once you’re a few miles in.
Thirst isn’t the only signal to watch for. The National Park Service lists a dry mouth, muscle cramps, nausea and lightheadedness among the signs of dehydration, and suggests drinking enough through the day that your urine stays light yellow.
Quick Tip: If you’re using a hydration bladder, fill it and run the drinking tube at home first. Finding a leak or a kinked hose at the trailhead is a stressful way to start the morning.
The Importance of Broken-In Footwear
The American Hiking Society puts footwear first on its list and asks for three things: traction, support and protection, in shoes or boots that fit well. For a maintained local trail, light hiking shoes or trail runners often cover all three, so you don’t need stiff leather boots.
Fit matters far more than style, and so does breaking them in. New shoes can have stiff spots and seams that only show up after a mile or two, so wear them on a few neighborhood walks before you trust them on a trail.
Best Hiking Clothes for Beginners: Why You Should Ditch Cotton
Cotton is comfortable at home, but on the trail it soaks up sweat and holds it against your skin. The American Academy of Dermatology notes that this trapped moisture adds to friction and chafing, and a damp shirt leaves you cold once a breeze picks up.
Polyester, nylon and merino wool handle sweat differently. They move it away from your skin and dry faster as you walk, so you stay comfortable when your effort or the weather changes.
How to Use the 3-Layer System
- Base layer: the shirt against your skin. Its job is moving sweat, not keeping you warm, so pick polyester, nylon or merino.
- Mid-layer: a light fleece that traps warm air. On a warm day it rides in your pack, and on a breezy ridge it goes on.
- Outer layer (shell): a packable jacket that blocks wind and rain. For a day hike, a light waterproof jacket does the job without a mountaineering price tag.
The weather at the trailhead often isn’t the weather a couple of miles in, especially once you start climbing. My guide to hiking layers explained for beginners goes through each layer, the fabrics and when to switch.
For a crisp morning that turns into a warm afternoon, a light merino or synthetic tee, a thin fleece and a packable wind or rain shell cover it. The shell usually comes off on the first climb and goes back on at the windy top.
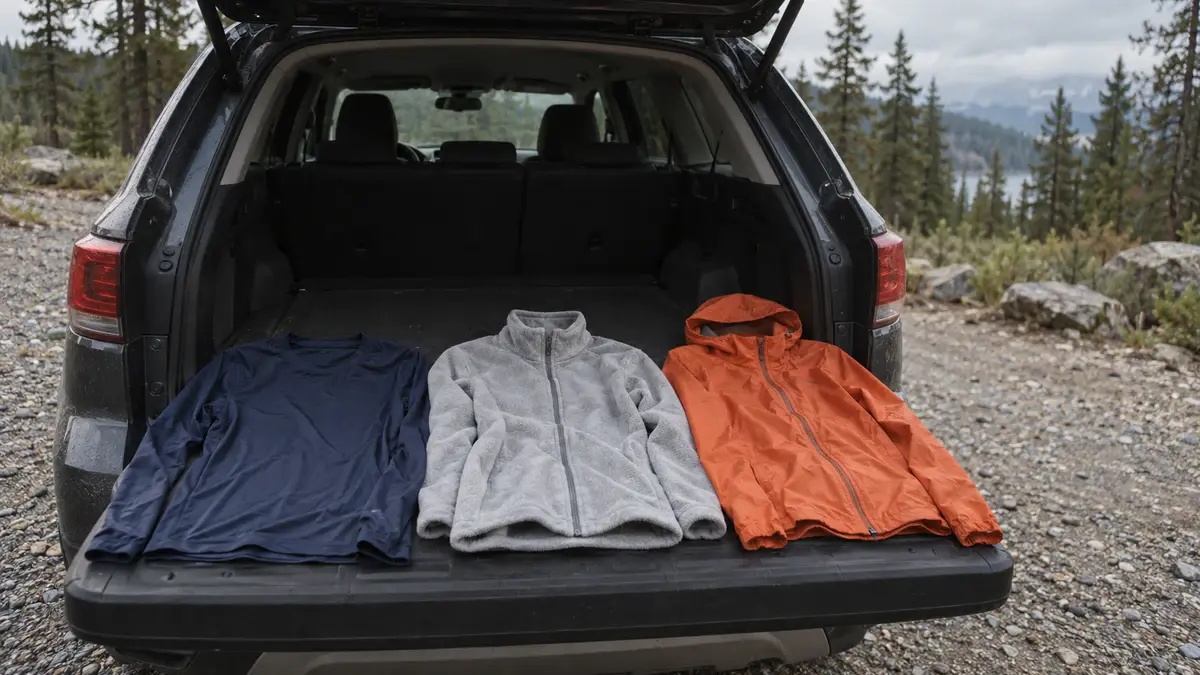
Your rain jacket doesn’t need to cost a fortune for this kind of hike. A basic packable waterproof jacket handles most beginner day hikes, and the pricier shells make more sense once you’re regularly out in heavy rain.
Navigation and Power: Essential Safety Tools for the Trail
Using your phone to navigate is fine. Relying on a live signal isn’t, because reception often fades at the trailhead and can drop out completely in valleys and behind ridges.
Before you leave home, download your route for offline use in an app such as AllTrails, Gaia GPS or Komoot. Check whether your app’s free version allows it: AllTrails, for example, keeps offline maps for its paid Plus and Peak plans.
Your phone’s GPS doesn’t need a cell signal to show where you are, but it needs a map already saved on the phone to show you anything useful. The American Hiking Society also suggests a paper map and compass as a backup, because phones aren’t always reliable in the backcountry.
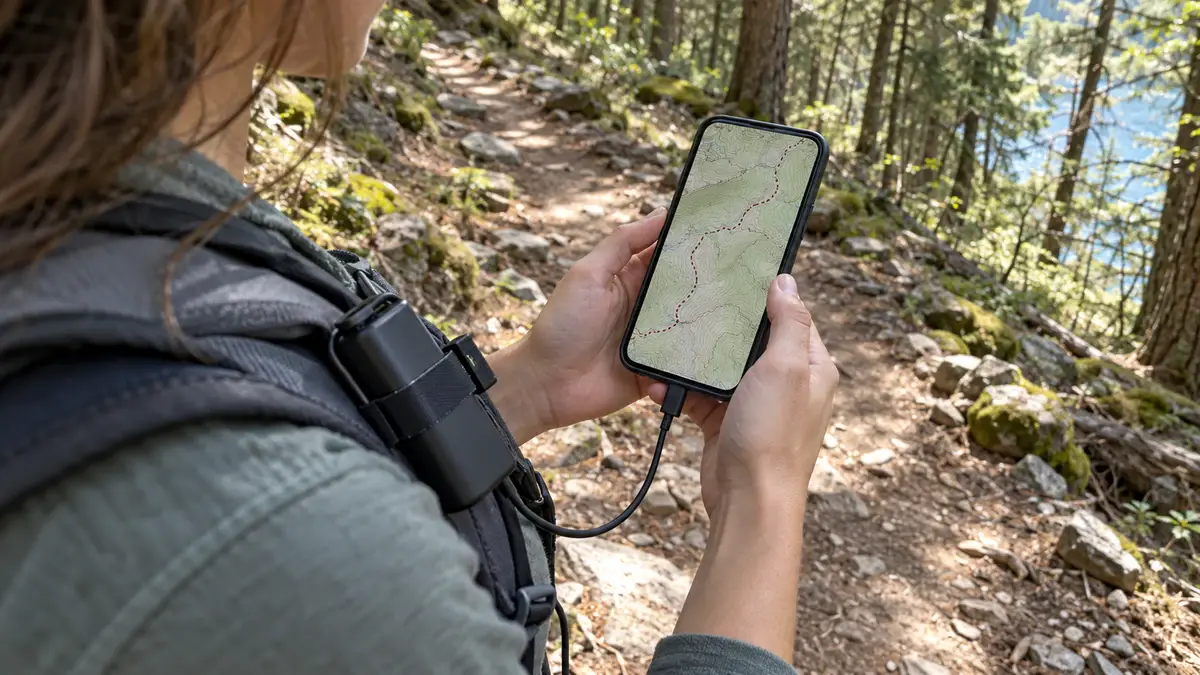
A small power bank and its cable keep the phone going for the map and for a call if you need one.
Pack a headlamp too, not because you plan to hike in the dark but because plans change. A twisted ankle or a wrong turn can stretch a four-hour walk into dusk, and a headlamp keeps your hands free and saves your phone battery for the map.
Before you lose signal, text a friend or family member which trailhead you’re starting from and when you expect to be back. The National Park Service and the American Hiking Society both recommend it, and it costs nothing and weighs nothing.
Quick Tip: The night before, put your phone in airplane mode and open your downloaded map. If the trail and your location show up, you’re set, and if the screen stays blank, download it again while you still have Wi-Fi.
The Beginner Hiking First Aid and Safety Kit
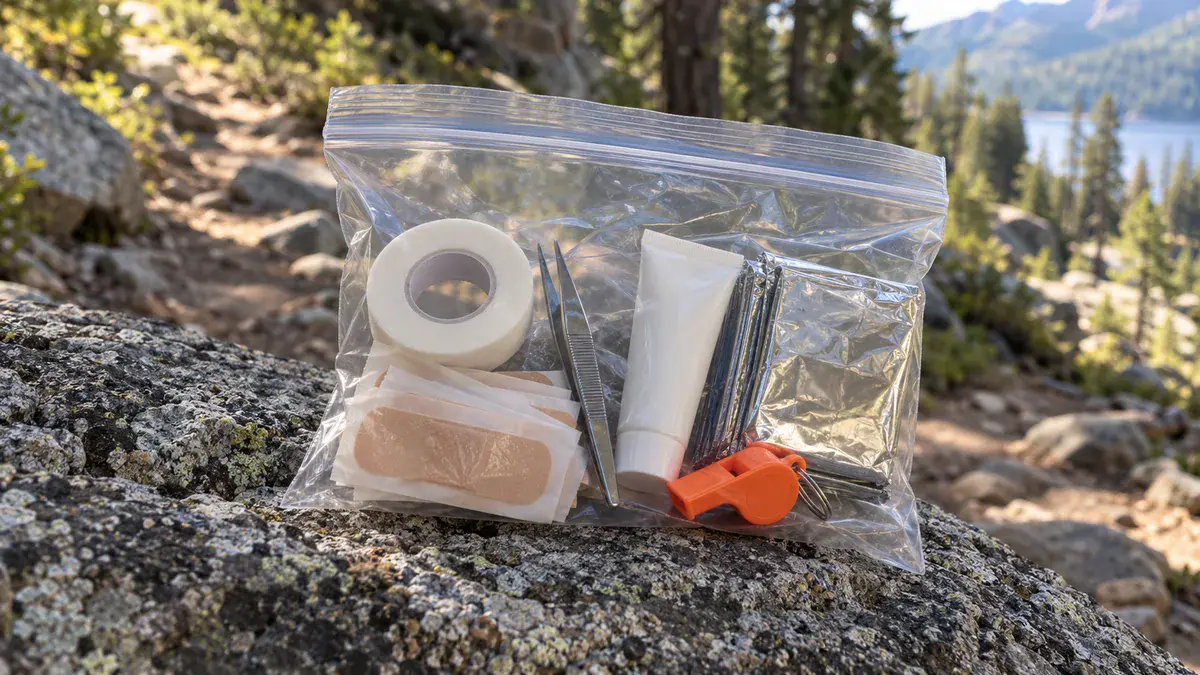
You don’t need an expedition medical kit for a local day hike. A quart-size zip bag with a few basics handles the small problems that actually come up on a short trail, like blisters, scrapes and splinters.
Your trail mini kit:
- Blister tape or moleskin, for the problem you’re most likely to have.
- A few adhesive bandages, for scrapes and small cuts.
- Fine-tipped tweezers, for splinters and ticks.
- Pain relievers you know you can take, for a headache or a sore knee.
- Travel-size sunscreen, so you can reapply on the trail.
- A whistle, if your pack doesn’t already have one on the sternum strap, to signal for help.
- A lighter and a small knife or multi-tool, both on the American Hiking Society’s list, for an emergency fire and quick repairs.
- An emergency space blanket, the light, inexpensive shelter the American Hiking Society suggests if you’re hurt or stuck.
Keep pills in their original labeled packs rather than loose in a bag. That way you always know what each one is and how much to take.
Blister supplies are the items you’re most likely to use. Mayo Clinic says a hot spot is the sign a blister is forming, and advises treating it right away with tape, a blister bandage or moleskin.
Stopping a mile in when you feel a sore, rubbing spot on your heel or toe can feel like a fuss when everyone else keeps walking. It takes two minutes, and it’s usually the difference between finishing the loop comfortably and limping back to the car.
Your socks help here too. The American Academy of Dermatology recommends nylon or moisture-wicking socks to prevent blisters, so swap cotton socks for synthetic or wool ones, even in summer.
Essential Sun and Tick Protection
- Sunscreen: Put it on before you start and carry a small tube to reapply. The American Academy of Dermatology recommends a broad-spectrum, water-resistant sunscreen with SPF 30 or higher, and the American Hiking Society asks for sun protection in every season, whatever the cloud cover.
- Sunglasses and a brimmed hat: They shade your eyes and face on open stretches. UV gets stronger as you climb, by about 10 percent for every 3,300 feet (1,000 meters) according to the World Health Organization, and fresh snow can reflect as much as 80 percent of it back at you.
- Ticks: In grassy, brushy or wooded areas, walk in the center of the trail and use a repellent registered for skin use where you live (in the US, an EPA-registered one) with an ingredient such as DEET or picaridin, following the label. Back home, check your clothes, your daypack and your skin, and shower soon after, as the CDC’s tick prevention advice suggests.
Additional Hiking Gear: Nice-to-Haves for a Better Experience
Once the basics are covered, a few small extras can make the day more comfortable. None of them is essential, so add them one at a time and keep the ones you actually use.
- A foam sit pad: cheap, very light and easy to strap to the outside of a daypack, and it turns a cold, wet rock into a dry seat at lunch.
- A small thermos: a warm drink at a windy viewpoint makes a short break feel like a proper stop.
- A trash bag: Leave No Trace asks you to pack out all trash and leftover food, peels and cores included, because food left behind draws animals to the trail. My guide to Leave No Trace for beginners covers the rest of trail etiquette.
- Trekking poles: not necessary on flat ground, but on steep descents and uneven trail they give you two extra points of contact for balance.
Going to the bathroom outdoors is the topic beginners are often too shy to ask about. Leave No Trace’s guidance is to bury toilet paper deep in a cathole or pack it out, and packing it out is best in deserts and other dry landscapes.
A cathole is a hole 6 to 8 inches (15 to 20 cm) deep, at least 200 feet (about 60 meters) from water, camp and trails. A duct-taped zip bag keeps packed-out paper private, and my guide to going to the bathroom in the woods covers the rest.
The Most Common Beginner Packing Mistakes to Avoid
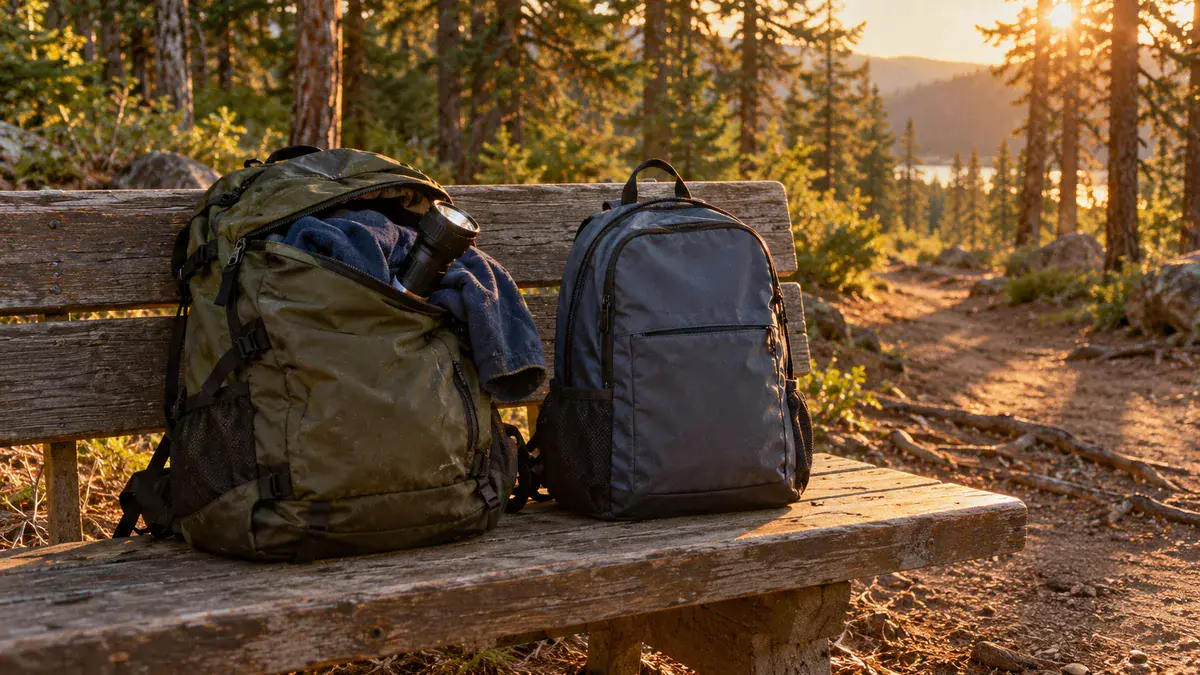
Many first hikes go something like this: a big pack, three spare layers, heavy food and a flashlight sized for a power outage, all for a short loop. By mile two, the shoulders are complaining.
Packing your fears is a normal beginner habit, and it’s also the easiest one to fix. Here are the common mistakes and what to do instead.
- Packing for every scenario: three spare pairs of socks, canned food or heavy tools for a short afternoon walk. Pack for this route and this forecast, not for every disaster you can imagine.
- Wearing brand-new shoes: give them a few walks around the house and the neighborhood first, so any stiff spots show up at home rather than on the trail.
- Relying on your phone’s flashlight: it lights a short, wide patch and drains the battery you need for the map. A headlamp throws light farther down the trail and keeps your hands free.
- Skipping snacks: the American Hiking Society suggests calorie-dense food plus an extra portion in case you’re out longer than planned. Trail mix, bars and dried fruit all pack small.
- Overpacking the first aid kit: leave splints and trauma dressings at home, and focus on blisters, small cuts and pain relief.
You Already Have More Hiking Gear Than You Think
That trailhead panic rarely means you’ve forgotten something important. Start with the core, a pack that fits, enough water and broken-in shoes, then add your layers, a small safety kit and a downloaded map.
The rest comes with experience. After a few outings you’ll know whether you reach for almonds or energy bars, and whether that sit pad earns its place in your pack.
The night before your hike, load the pack with everything you plan to carry and lift it. If the weight surprises you, take out anything you can’t name a use for, check the forecast once more, and text someone your plan.
Founder & Gear Research Editor

Sonia Zannoni
I’m Sonia, the founder of Best Trail Backpacks. I don’t test gear myself. For every pack I cover, I read the manufacturer’s specs and sizing charts and look for what owners report again and again.
Fit comes first, because a pack that doesn’t match your torso and hips will hurt no matter what it cost. My goal is to help you choose a pack that suits your body, your trip and your budget.
About the Founder
